A Photographer's Guide to Capturing Thai Waterfalls
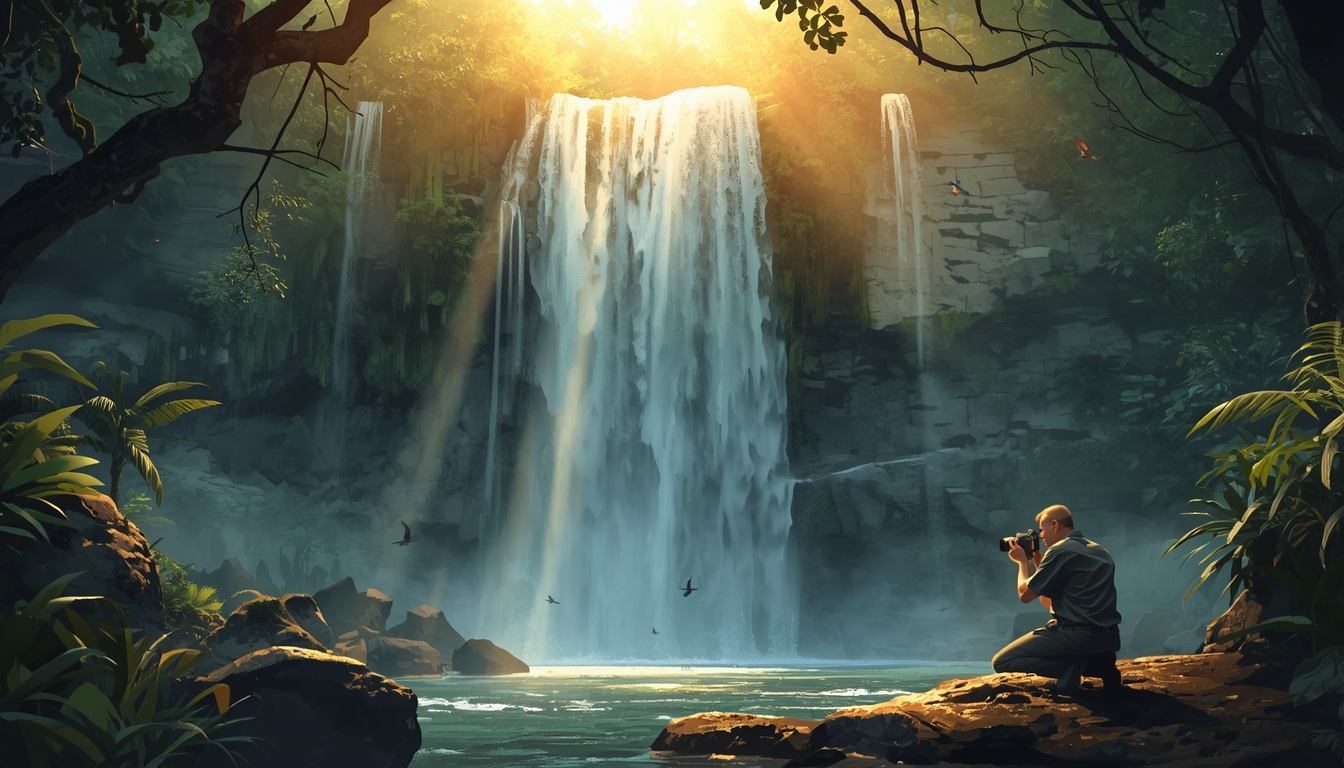
Welcome, fellow shutterbugs! Have you ever stood at the edge of a waterfall in Thailand, awed by its thunderous rush and cascading beauty, only to feel your camera fail to do it justice? You’re not alone. Capturing the essence of waterfalls is an art that requires both technical know-how and creative vision. This guide aims to equip you with all the knowledge necessary to transform your snapshots into captivating images.
Understanding Your Subject
Before we dive into the nitty-gritty, let's understand what makes Thai waterfalls so unique. From the misty trails of Erawan Falls in Kanchanaburi to the majestic plunge of Khao Luang Waterfall near Bangkok, Thailand boasts a diverse array of natural wonders. Each waterfall has its own character—some are tucked away in dense jungles, others stand proud against limestone cliffs. Understanding your subject’s attributes and how they interact with light can significantly enhance your photography.
Essential Gear for Your Adventure
To capture the true spirit of these waterfalls, you’ll need to be prepared. Here are some must-haves:
- Camera: A DSLR or mirrorless camera will give you better control over settings.
- Tripod: Essential for long exposures and stability in rugged terrain.
- Polarizing Filter: Helps reduce glare and enhance the colors of water and foliage.
- Rain Cover/Protective Gear: To safeguard your equipment from splashes and mist.
Mastering Your Camera Settings
The key to great waterfall photography lies in how you use your camera. Here are some fundamental settings and tips:
Shutter Speed
Shutter speed is crucial for controlling the look of water. For a silky, smooth effect on flowing water, aim for a slower shutter speed (1/30th or below). Conversely, if you want to freeze the motion and capture the energy of the waterfall, use a faster shutter speed.
Aperture
Control depth-of-field by adjusting your aperture setting. A wider aperture (lower f-number) can isolate parts of the waterfall against a blurred background, while a narrower aperture (higher f-number) ensures sharpness from foreground to background.
ISO
Keep it low to minimize noise and maintain image quality. Use higher settings only when light conditions are poor or you’re shooting at night.
Composition Techniques
Composition is everything in photography. Here’s how to frame your waterfall shots effectively:
- Rule of Thirds: Place the horizon on one of the thirds lines, either horizontal or vertical.
- Framing with Nature: Use natural frames like trees and rocks to draw attention to the waterfall.
- Leading Lines: Utilize paths or streams leading up to the waterfall to create depth.
Capturing Dynamic Water Effects
Experiment with different water effects by varying your shutter speed:
- Smooth Water Effect: Set a slow shutter speed (1/30th - 1 second) during daylight hours. This creates a dreamy, ethereal look.
- Frozen Motion: Fast shutter speeds (above 1/250th) will freeze the water droplets in mid-air, giving your images a dynamic feel.
Lighting Conditions
Lighting plays a pivotal role in waterfall photography:
- Golden Hour: Early morning or late afternoon light can cast beautiful warm tones on the waterfall and surrounding landscape.
- Cloudy Days: Overcast skies provide soft, diffused lighting ideal for capturing rich textures without harsh shadows.
Post-processing Tips
Don’t underestimate the power of post-processing. Use software like Adobe Lightroom to enhance your images:
- Adjust exposure and contrast to bring out details in both highlights and shadows.
- Enhance colors gently; over-saturation can detract from the natural beauty of waterfalls.
- Sharpen selectively, focusing on key elements without adding noise.
Safety First
Always prioritize safety. Waterfall areas are often slippery and rugged. Wear appropriate footwear, stay clear of unstable edges, and be mindful of your surroundings to avoid accidents.
Conclusion: A Checklist for Your Next Adventure
- Gear Check: Camera, tripod, polarizing filter, rain cover.
- Settings Adjustment: Shutter speed, aperture, ISO.
- Composition Focus: Rule of thirds, framing with nature, leading lines.
- Lighting Awareness: Golden hour, cloudy days.
- Safety Measures: Appropriate footwear, stay alert.
Now you’re ready to embark on your photographic journey through the captivating waterfalls of Thailand! Remember, practice makes perfect—don’t be afraid to experiment and explore different angles and techniques until you find what works best for capturing the breathtaking beauty in front of you. Happy snapping!